

 by Matt Woods/photos by the author
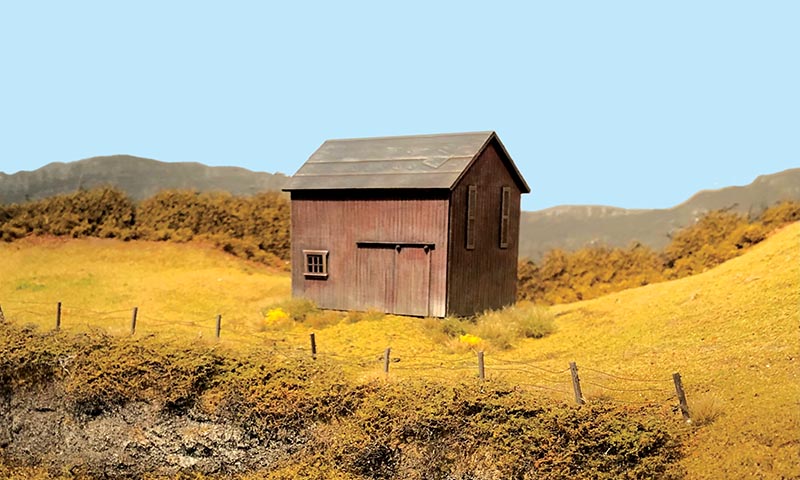
Old wooden barns are everywhere! They are the quintessential emblem of the rural landscape and are appropriate for every era of model railroading. Barns come in all sizes and a variety of shapes. Whether still in use or long-abandoned, they can add character and help break up the negative space on a layout.
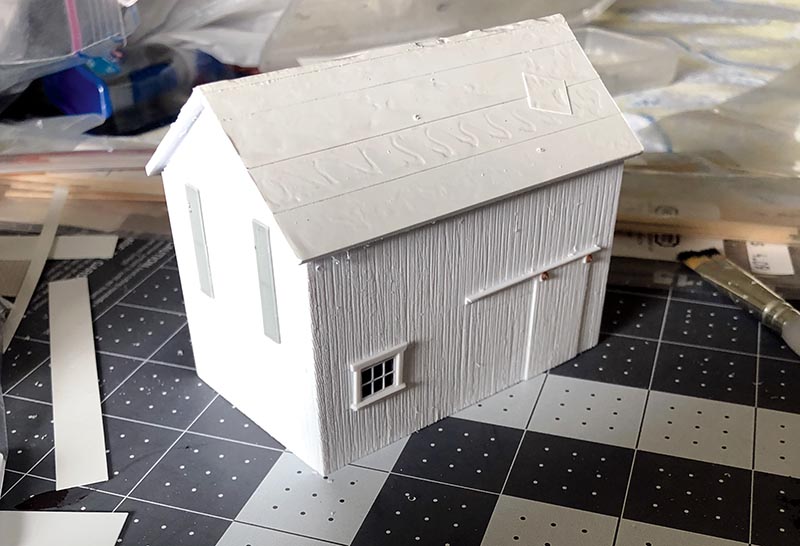
This article demonstrates how to build simple barns from styrene, along with techniques for painting and weathering them, along with tips on integrating them into existing scenery. Scratchbuilding does not have to be difficult or complicated. These simple barns offer a good introduction to basic styrene-building techniques and can help populate a layout with eye-catching, realistic structures.
Inner Substructure
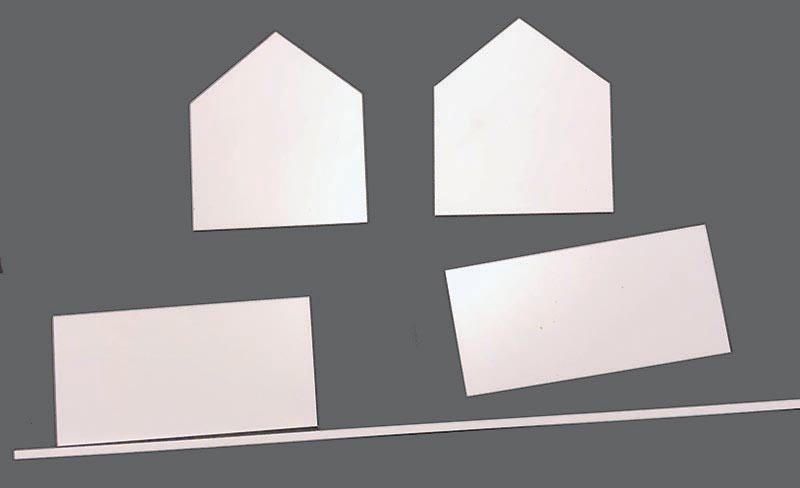
Cut the walls from .040” Evergreen sheet styrene. Rather than cutting all the way through the sheet, make a few passes with a hobby knife and snap the material along the score line. This is a more reliable method for working with sheet styrene.
There are no exact dimensions for these barns. Larger barns can be 20 to 30 scale feet long and 15 to 20 scale feet wide. Smaller barns or sheds can be about 12×20 scale feet, with corner heights of 10 to 16 feet and another 5 to 6 feet added for the roof peak. The dimensions used here are slightly compressed so the structures do not overwhelm the scene and instead help create an illusion of distance. Full-scale barns would be larger, but they would be less effective as background rural scenic features.
The side walls should be slightly shorter than the end walls to allow the roof to overhang. Brace the corners with .125x.25” styrene stock cut to the height of the end walls and glued into the corners, inset by the thickness of the side walls. This provides a gluing surface for the side walls while also adding bulk to the structure. Install these corner braces in all four corners, then glue the four walls together, making sure everything remains square.
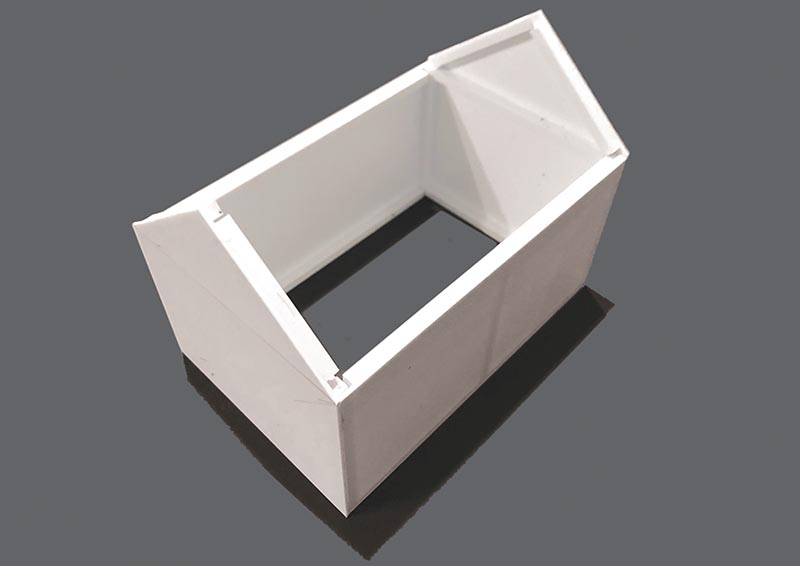
Additional bracing using the same .125x.25” stock can be added along the top and bottom of each wall between the corner braces. This adds both rigidity and bulk to the structure. Leave the roof panels off until the sheathing has been applied.
Sheathing
The barn substructure should be sheathed with Evergreen V-groove siding, which is thinner than the material used for the inner walls. The width of the scribed boards will depend on the scale, but 9- to 12-inch boards are appropriate for vertical planking.
Evergreen board-and-batten siding can also be used, representing boards spaced about 12 inches apart. Cut the siding to match the exact dimensions of the end and side walls, then glue it to the substructure.
Texturing the Siding
Texturing the styrene will greatly improve the realism of the finished barn. This can be done either before or after the siding is glued to the substructure. Dragging a sharp hobby knife repeatedly along the length of each board will create grain and deeper gouges. The amount of texture is up to the builder, though a somewhat exaggerated grain will make drybrushing easier later on. All simulated wood surfaces should be textured. Door and window castings can be textured after they are glued in place.
It is advisable to wear a dust mask and keep a vacuum nearby while doing this work. A surprising amount of fine styrene particles and strands is created, and they should not be inhaled…
