 By Joseph Kreiss/photos by the author
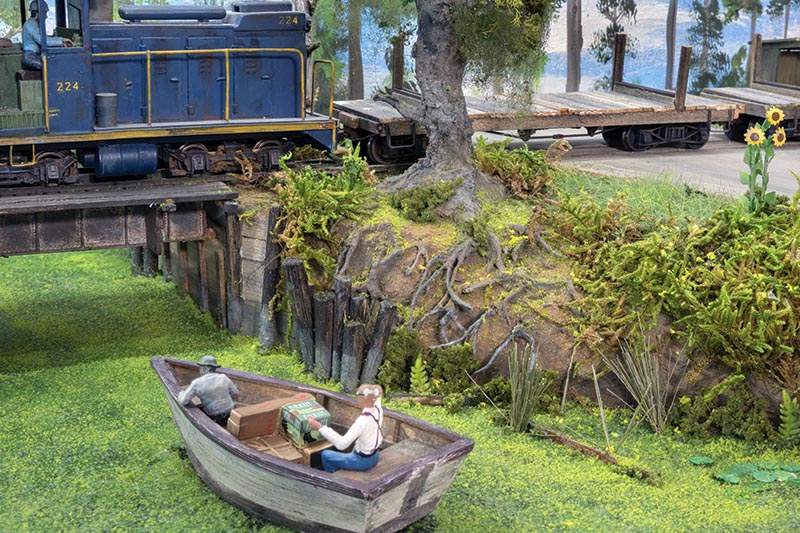
As model railroaders, it seems we are always drawn to water features. Not only do they add visual interest, but often times they pose an obstacle for the railroad to either cross or follow. In any case, one of the most important aspects is recreating where land meets the water. In an urban setting, it might be a man-made retaining wall. Along a coast line it might be a sandy beach or piles of rocks. In some areas, lush greenery grows right up to the water’s edge.
When river and stream banks are undercut and eroded by the flow of water, the roots of trees growing nearby are exposed. Without getting too deep into the hydrology theories of fluvial bank erosion rates, bank erosion is a natural process and can be easily found along waterways in a variety of landscape situations.
Because stream bank erosion is such a common occurrence, and the results so visually interesting, this natural effect begs to be modeled. The latest version of my freelanced On30 Mosquito Creek Lumber Company layout is under construction and I wanted to feature several typical Louisiana waterways, swamps and bayous. In the southeastern United States, “Low Country” trees grow right up to the banks and many times grow right in the water. I had to include this type of scenery feature on my new shelf-style swamp logger layout.
Even if you’re not modeling the swamps of Louisiana, recreating realistic exposed tree roots along a riverbank is a fast, easy and fun scenery project. Let’s dig in!
Prepping the Layout
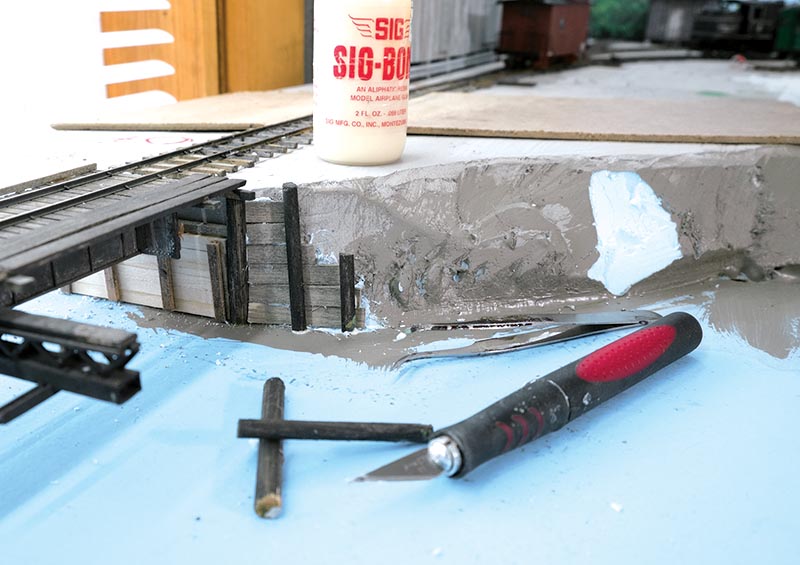
To model an eroded riverbank, I chose an area on the layout next to the Green River lift bridge. I have used 2-inch insulation foam for my sub-roadbed and track surface on this layout, so I roughly carved the foam edge to create a steep-sloped bank. The river’s surface is made from 1/8-inch tempered Masonite hardboard attached directly to the benchwork framing. I also added bridge pilings and retaining wall abutments to the areas around the lift bridge
Lightweight spackle has become my favorite go-to scenery material. For this project I used an artist’s palette knife to work the spackle onto the foam to build-up the riverbank contours. After it dried overnight, I painted the riverbank a muddy gray-brown color using basic acrylic craft store paints. I then sprinkled a light dusting of fine dirt onto the wet paint and let it dry thoroughly.
Making the Tree Roots
I used a small pair of wire nippers to cut a bunch of .8 mm wire into 2- or 3-inch sections. Just about any thin, bendable wire will work. I bundled three or four pieces of the wire together and twisted them in the center, leaving the wire at each end free. These ends will become the exposed tree roots. After I amassed a good pile of the bundles, I cut each in the center to create two separate root segments.
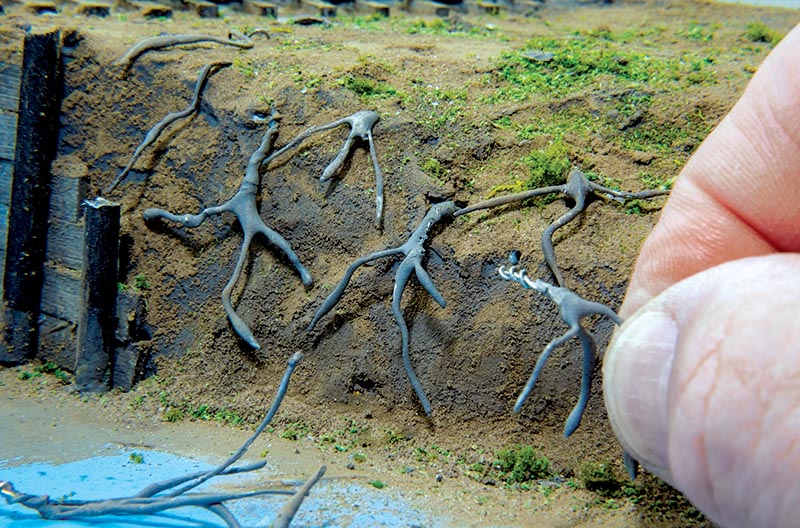
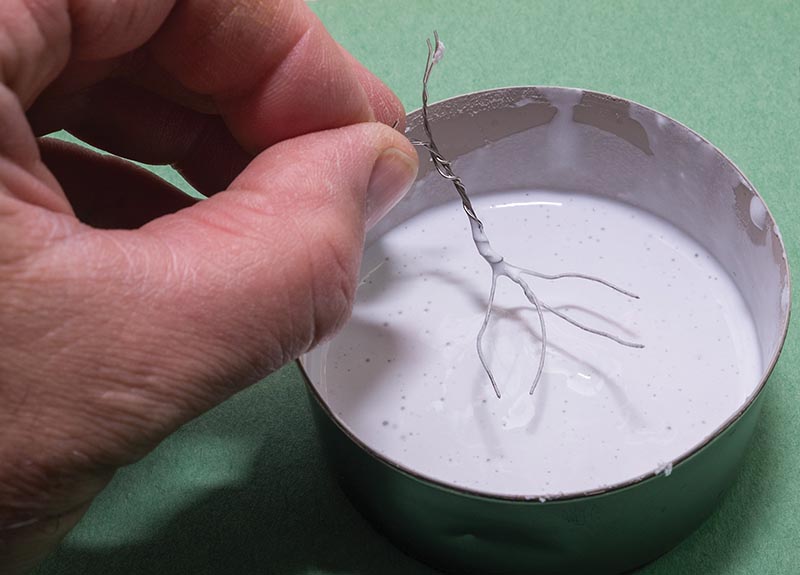
Once I had assembled a dozen or more of the root bundles, I again turned to the lightweight spackling compound to coat the wires. This time I mixed a small amount of the compound with water in a shallow container until it was the consistency of pancake batter. I held the root bundle by the twisted end of the wire and dipped the roots into the thinned compound until the wires were coated. This technique adds random thickness to the roots…


