
 by Craig Chandler/photos as noted
It’s June in Kansas during the 1980s. Wheat harvest is in full swing as combines cut through the fields, filling trucks with the hard red winter wheat kernels. The trucks drive to town to deposit thousands of bushels of wheat at grain elevators. The elevators can’t store the new harvest on top of what is already being stored, so it’s up to the railroads to deliver covered hopper cars to take the wheat to terminal elevators.
This frantic pace will continue for several weeks. Wheat harvest begins on the Great Plains in Texas. There, the wheat is ready for harvest in May and harvest spreads north throughout the summer. Kansas farmers harvest throughout June. Harvest continues north throughout the summer and ends in Canada in September and into October.
Wheat, in my opinion, is the most beautiful crop grown. All spring it grows quickly and the green heads sway as the wind crosses the fields. As it ripens and turns golden, the amber waves of gold are truly beautiful. My wife’s family has grown wheat for several generations, so I was always around their farm and learned much about the harvest cycle. I model the Santa Fe in Kansas in the 1980s, the years after college that I worked in the state for a couple of newspapers and photographed the harvest each summer.
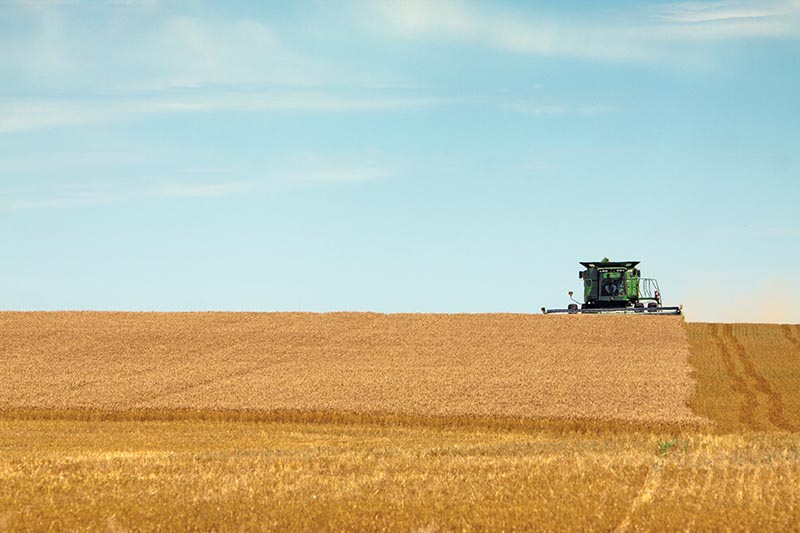
ABOVE: An HO scale combine cuts a final patch of wheat after offloading into waiting trucks. These workaday scenes add realism to any model railroad set in the modern Midwest.
Modeling Kansas in June means having wheat fields. I thought modeling wheat fields in a large scale was going to be difficult, but I believe I have a realistic and fairly easy way to model wheat and the harvest.
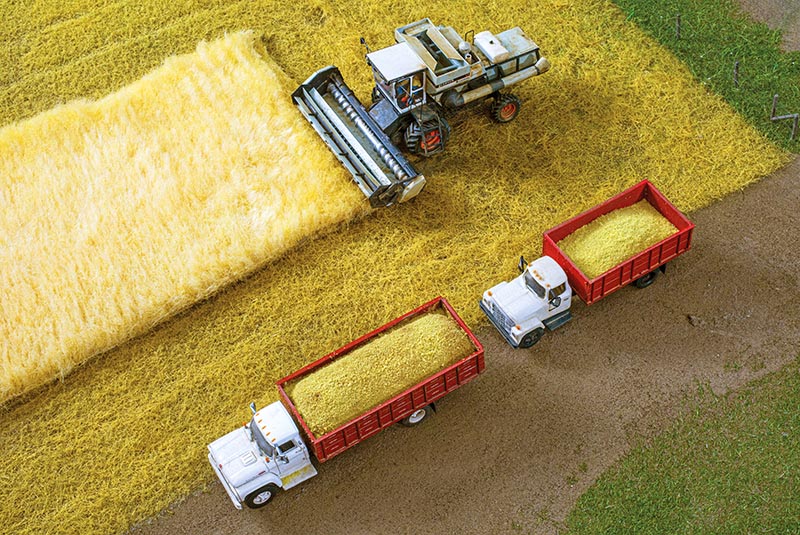
I have three areas of wheat on my layout; one is a field awaiting harvest and two that the combines are working. My largest wheat field is part of the farm scene on the inside of the curve on a peninsula. The farm scene and the town of Coldwater, Kansas, are the centerpieces of my layout.
Amber Waves
Individual stalks of wheat do not stand out in fields of ripened wheat. Instead, the wheat heads create a carpet of grain that ripple in the breeze. For that reason, I don’t like the commercial products for wheat fields. They seem to emphasize the individual stalks and not the overall lush wheat heads that fill all the available space.
I did purchase a couple of boxes of Busch wheat fields. I glued them to my field but they just don’t look like a wheat field. I didn’t like the look so I took them out. I do think they would make a great fall soybean field ready to be harvested. Ripe wheat fields are easy to model with faux fur. Glued down and trimmed with hair clippers, the faux fur looks like a scale wheat field.
I purchased the faux fur online. The company I bought from a few years ago no longer sells the fur except as a special order. However, a recent online search found a camel-colored 60×36” piece for about $38. I also saw a 20×30” caramel latte-colored piece for $36 on Amazon.
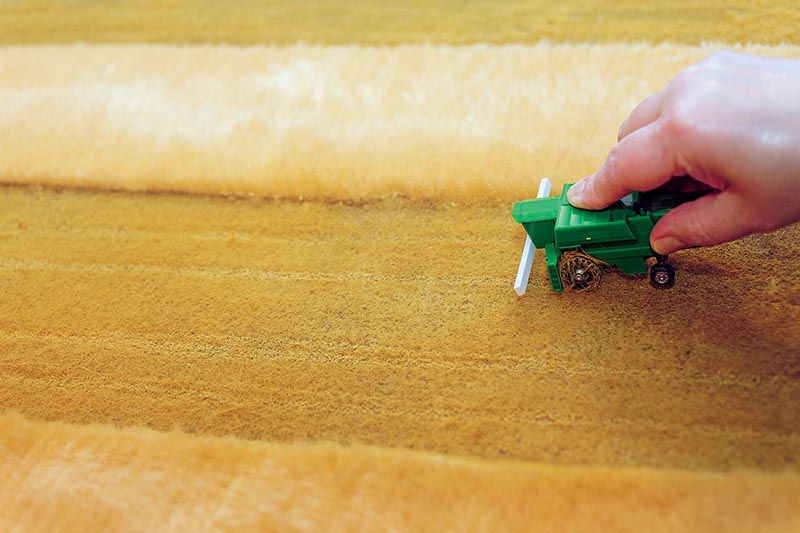
ABOVE: A toy combine is run through the stubble to create the tracks. The strip of styrene glued to the cab is used to properly space the swaths and tracks.
A Harvest-Ready Wheat Field
For your field, make sure your fur will cover your field in one piece. You can’t have seams in your wheat field. No matter how you brush the trimmed fur, the seams will show. I did end up with one seam in a smaller field along a back wall. I decided I could live with it since the scene is at the end of an aisle, close to eye level.
I used a roll of paper to make a pattern of the field I wanted to “plant.” Transfer your pattern to the back of the fur and cut out your fabric. Be sure to double-check you haven’t flopped the pattern shape if your field is an irregular shape. I poured white glue into a small container and used a 3” brush to apply the glue over the field area. Lay the fur into the glue and lightly push it down so it makes contact, especially around the edges. Do not lay any weights on your fur, you don’t want the glue to soak in and mat it down…
