 By Pierre Oliver/Photos by the author
Trees are one of the more challenging aspects of building a realistic model railroad. There are so many methods of execution, with some working better than others. Now that I’m engaged in building a layout set in Southern California, I have the advantage of not requiring entire forests of trees. However, I want what few trees I do put on the layout to look their best, especially since being less plentiful, they will be under more scrutiny.
I had looked at the methods employed by Gordon Gravett using multi-strand wire to form the armatures, but I discovered that I lack the talents required to create good-looking trunks. I also didn’t want to devote the time required to employ that technique just to create a relatively small number of detailed foreground trees.
Then a friend posted an image on Facebook which inspired me to try something. Combining commercial tree armatures from Woodland Scenics and the amazing “Supertree” material sold by Scenic Express, and then finishing off with Noch leaf materials, I was able to create very convincing-looking trees in a relatively short amount of time.
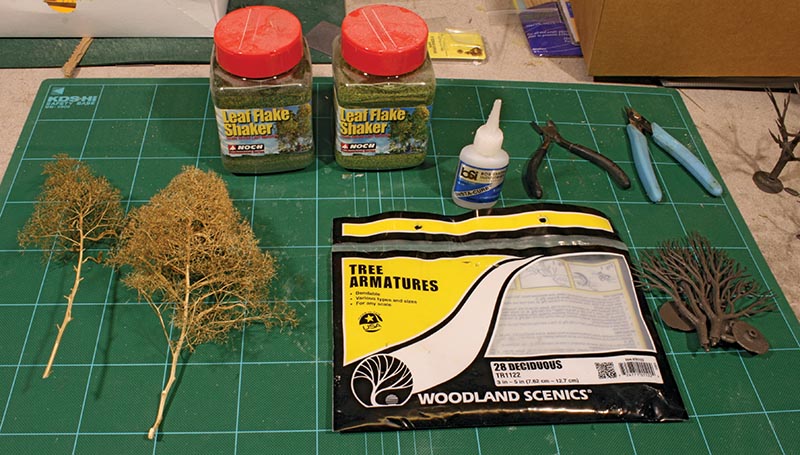
For this project I chose Woodland Scenics Deciduous Trees 3”-5” tall (TR1122) as a base. A supply of Scenic Express “SuperTrees” material as well as a few different shades of Noch “Leaf Flakes” round out the materials. Some cyanoacrylate (CA) glue, dark shades of acrylic paint, and some cutters are all you need for construction. Good-looking trees can be created in less than half an hour per tree, from start to finish. This method doesn’t require many items or tools, so jump in!

Construction
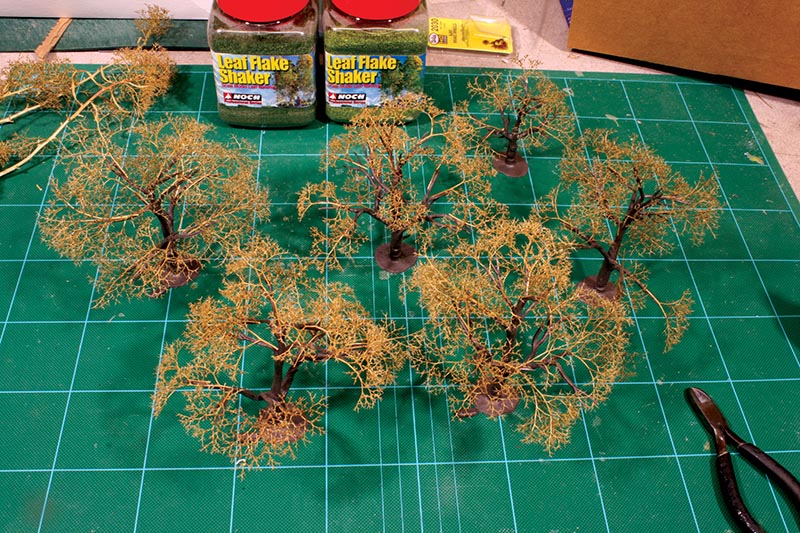
We start by twisting the Woodland Scenics armatures into a more natural shape. Strive for randomness as you work through a few trees. I like to do about six at a time. I find that a manageable number, and a sense of accomplishment can be had quickly.
Don’t hesitate to clip some of the “limbs” from the plastic armatures to avoid a look of repetition. Hang on to the supplied base, since it is useful for holding up the tree as you work on it.
Once you’re satisfied with the basic shape, take a piece of the “SuperTree” material and clip off a few of the “branches” from the stem. Starting from the bottom of your tree, hold a piece roughly in place and see if you like how it looks. If satisfied, dip the stem into a puddle of CA and hold it to the plastic armature. That should hold the limb in place. Work your way around the tree and then upwards, keeping in mind the final shape you’re striving for. Trim and alter the “SuperTree” material as you go, making your way to the top.
Since the “SuperTree” material is a natural product, no two pieces are the same, and a natural randomness emerges as you work with multiple trees on the bench.

Painting
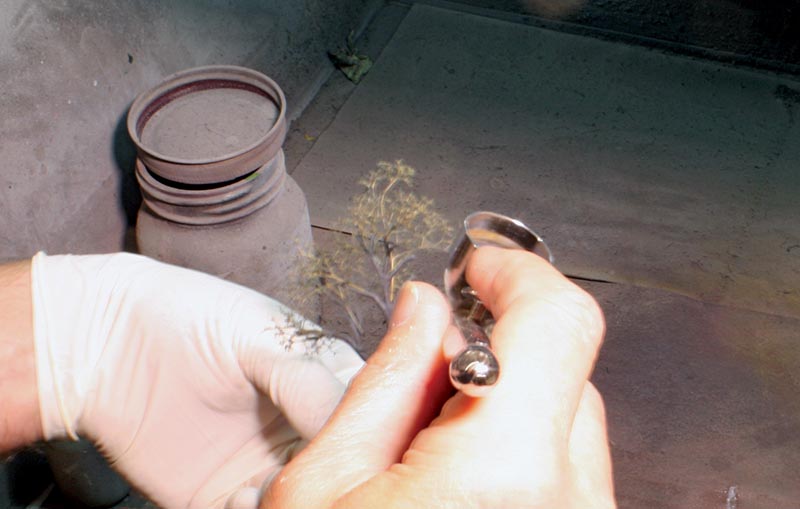
Once I have six or so trees ready, they need a coat of paint. I airbrushed the entire tree with Tamiya acrylic paint, using a medium grey, though the exact shade doesn’t really matter at this point. Just use what you may have on hand and looks right to you. Remember that tree trunks are grey for the most part, not brown! Using acrylics has the advantage of drying very quickly, so that we can move onto the next step…


