
 By Lance Mindheim/photos by the author
There are many reasons we engage in model railroading. There is the satisfaction that comes from simply taking a pile of parts and assembling them into something recognizable. There is creative expression. There are the friendships and the social aspects. But perhaps the biggest reason for many of us is a desire to capture and recreate in miniature a theme we find compelling. The sights, the environment, the amazing sounds of railroading are captivating and we want to recreate that. We want our own personal 3D movie. We want to be transported.
It’s the last reason that becomes problematic and difficult to achieve at times. Truly capturing in miniature the 1:1 experience is fraught with challenges, some of which can’t be overcome. Unless you have an enormous imagination, our model railfanning experience falls pretty short of the prototype version.
There are a variety of reasons. First, we simply have so little space compared to what we are trying to copy. There is the need for aisles and backdrops. There are the challenges of effectively modeling the complex colors and textures of our subject and the surrounding scenery. We have the physical disparity in viewing angle and perspective. In our train rooms we are perpetually locked into a helicopter view of our subject, always looking down from a scale height of several hundred feet. There is the sound issue. That chest-thumping bass of a locomotive passing within twenty feet of us is very difficult to reproduce with tiny speakers inside a plastic shell. In short, there is a big gap between the prototype experience that pulls us in so strongly and our attempts at capturing it in model form. We can’t totally overcome these disparities but there are ways we can bridge the gap and enhance our hobby experience.
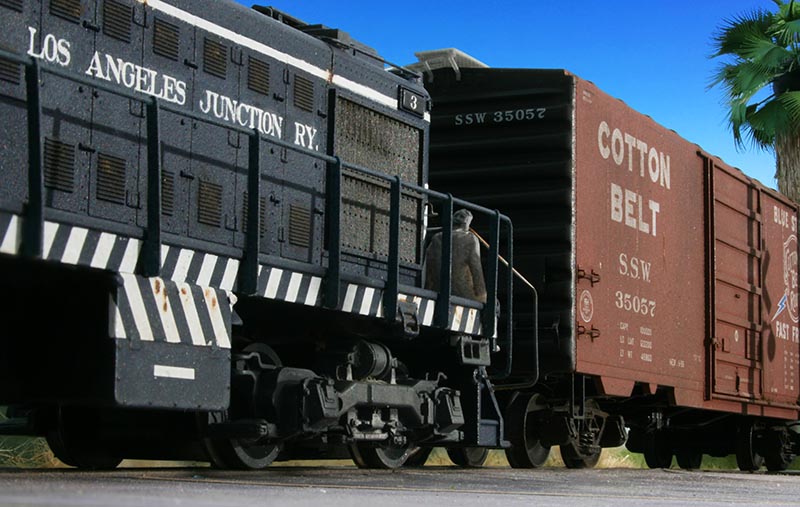
ABOVE: Miami’s Downtown Spur is a three-and-a-half-mile branch heading from the CSX main near the airport into town. Several times a week the yard job out of Hialeah, Fla., services the industry by way of a simple out-and-back turn. Here we catch it rolling past the Family & Son food warehouse near the end of its run on the author’s HO scale model railroad.
Viewing Angle
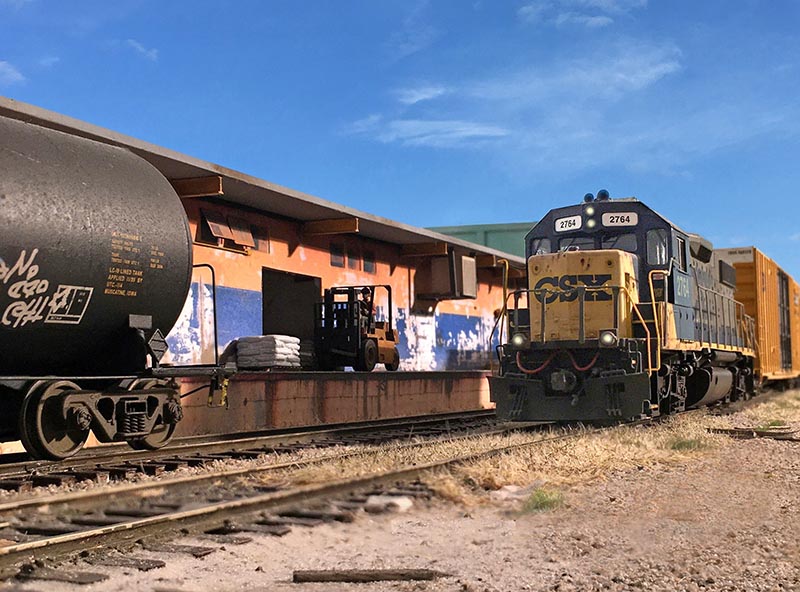
Having started railfanning over 45 years ago, I never cease to be awestruck by the sheer size and power of railroading. It’s still a thrill to feel the ground shake as a lashup of locomotives passes at a grade crossing. When we take in the prototype we are often looking up, way up. A locomotive running board is above our head. What we want to see is size and mass. What we actually see is a foot-long piece of plastic and metal that easily fits in the palm of our hand. Bending down to track level and squinting doesn’t work (although I keep trying!). We can’t create miniature versions of ourselves to realistically see our work as we do the prototype. However, creative and effective use of a camera lens can get us there. A camera will allow us to see our work in ways we can’t with the naked eye.
Two photographic techniques are particularly effective in creating the illusion that our models are the same size as the prototype. The first is to get your lens really, really low. This can be difficult to achieve with a standard single lens reflex camera unless you can position the tripod below the fascia. If you place the camera on the layout surface the lens will still be a scale ten or twelve feet above the rails. However, the advent of smartphone cameras of outstanding quality opens up a new world of creative imagery possibilities. Their small size and lens position allows us to take photos that make the models we work so hard to build come to life. They allow you to capture images that appear to be taken at eye level.
The second technique is using editing software to crop out your actual layout backdrop (or room background) and replace it with a photo of the actual sky. No matter how great your model backdrop is, it’s still two-dimensional and won’t look like real atmosphere in photographs. With each passing year new software programs come on the market to make deleting backgrounds and cropping in a new sky easier. One note of caution, however. It can be very tempting to use images with a lot of white puffy clouds, dramatic weather, or sunsets in them. This can be distracting and take the focus off of the model. I still occasionally use photos with clouds in the sky but less so than I used to. I’ve found the most effective results usually come from sky backgrounds with just a few high clouds or a totally cloudless sky. Through trial and error I’ve found that actual sky colors that lean more toward a sapphire blue seem to work better in most cases than those that are a lighter powder blue…
