
 by Don Janes/photos by the author
My HO scale Green Mountain Division is inspired by New England railroading in the 1950s (see December 2023 RMC) and one of the railroads represented is the Canadian Pacific and its operation in northern Vermont. CP was a main player in the region, moving a heavy amount of traffic to and from its connection with Boston & Maine. In the late 1940s, CP decided to dieselize its Vermont operations and one of their early diesel acquisitions was a group of five RS-2s built by American Locomotive Company in 1949. As built these engines were equipped with steam generators and could not be operated in multiple unit with other diesels. They were painted in the early “Smiley Face” maroon-and-yellow scheme.
All five engines were virtually identical when built and over the years had various changes made to them, including adding winterization hatches over the radiator fans, removing steam generators, adding watchman heaters and, in 1954, repainting to the more common maroon-and-gray scheme.
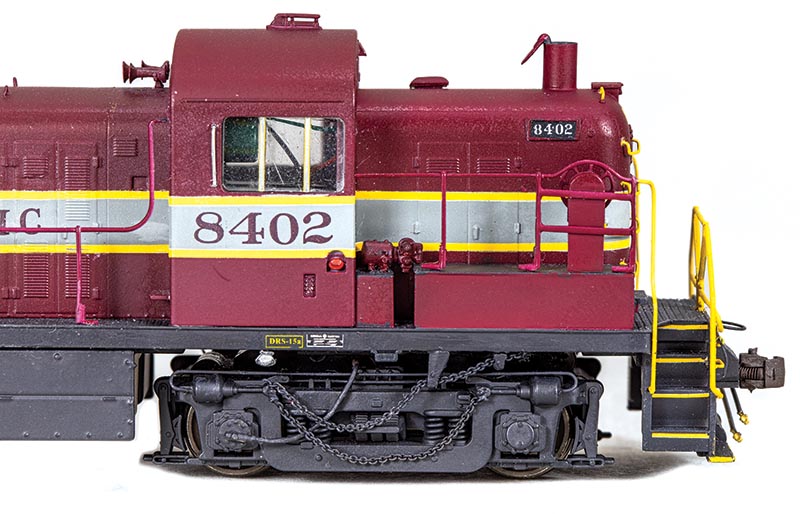
One unit, however, the 8402, was different from her four sisters in that at some point, likely while in for a repaint, she had extra fuel tanks added on the walkways behind the cab on each side. The engine still retained its steam generator at this point. I have not been able to find any information as to why this unit was modified, so I can only guess as to the reason the extra fuel capacity was added. My guess would be that if the unit was assigned to an outpost station it could go a lot longer between fuel fill-ups when it would either be sent to a location that had fueling facilities or a truck could be sent with fuel, which in that era was not a common thing—but like I said, I am just guessing.
I have wanted to build a model of the 8402 for a long time and after finally getting caught up on other modeling projects I built this model. My first order of business was to find as many prototype photos as I could of this engine in the time period that I am modeling and I have to say I had to really search the internet to find enough useful photos to help me with this project.
Next, I had to find a Life-Like Proto 1000 RS-2 as a starting point. I finally found a fellow selling a New York Central model on a buy/sell group on Facebook and purchased it. The model I purchased had the Proto trucks replaced with a pair of Atlas RS-3 trucks, but the seller assured me that it ran as good if not better than one with original Proto trucks, and I am glad to say it does.
To get started, I disassembled the model and removed all the details such as horns, handrails, window and headlight plastic inserts and any other separate pieces and set them aside. I soaked the body and walkway sections in a pan of 99 percent isopropyl alcohol overnight to remove all the paint and lettering. While those parts were soaking, I took the chassis apart, cleaned it all up and started to get the model ready for a DCC/Sound decoder, power pack and LED lighting.
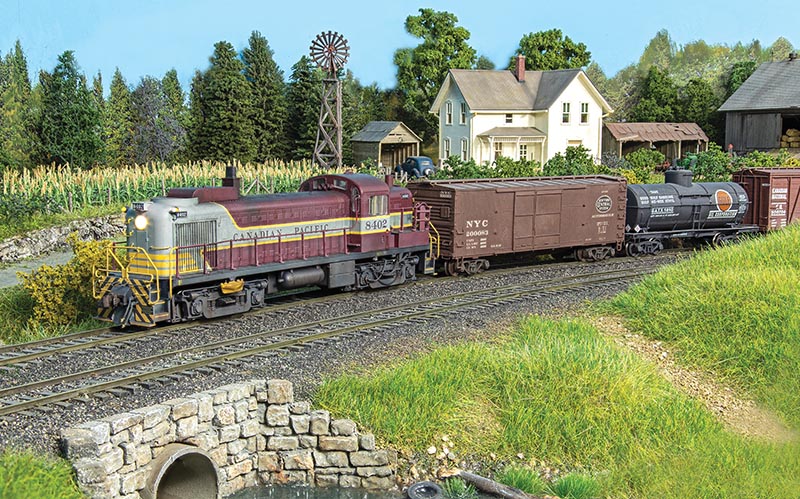
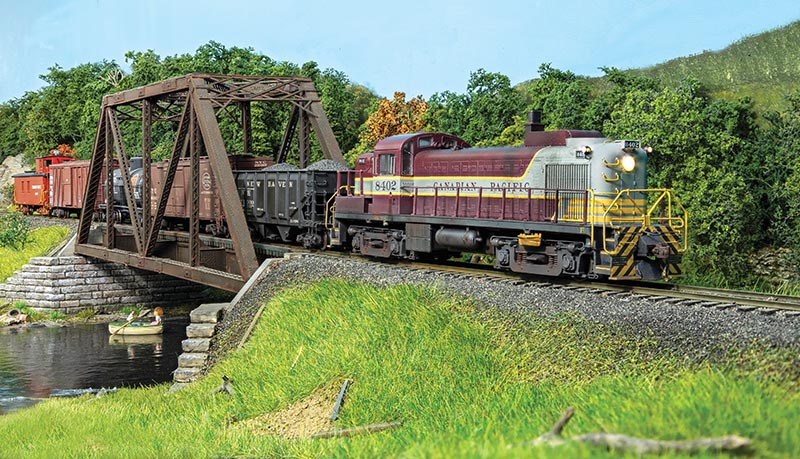
ABOVE: CP 8402 pulls a short freight on the author’s Green Mountain Division.
Power Chassis
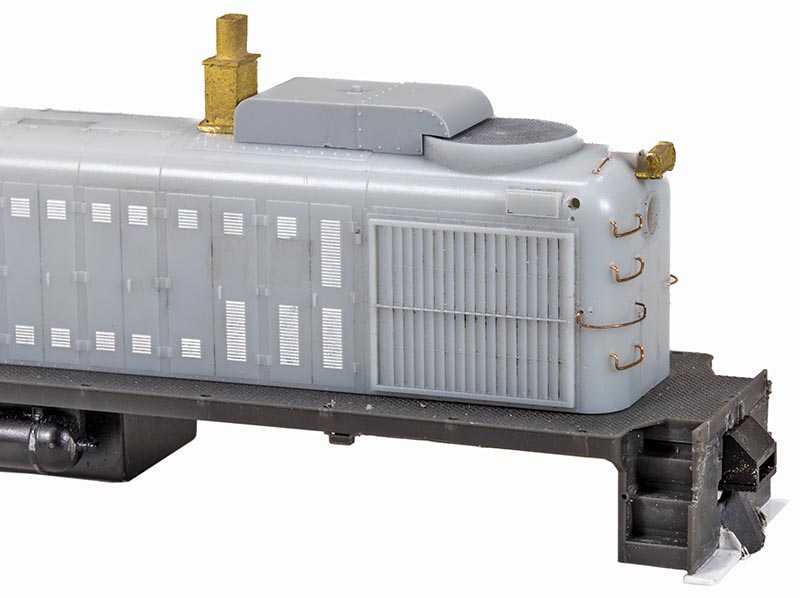
I own a couple of other Proto 1000 RS-2s and both are great-running models. The first thing I did with the chassis was to install DCC. I decided to remove the original lighting and install an ESU 58921 Sound Decoder with built-in Power Pack and a Scale Sound Systems speaker designed for a Bowser RS-3. I had to modify the chassis to install the speaker by adding a piece of .030 styrene mounted to the frame with two 2-56 screws and glued the speaker to this (Photo 1).
All wires for the trucks, motor and speaker were replaced with good quality wire from ESU. After wiring everything up and programming and testing the install to make sure everything ran as desired, I set the chassis aside and began work on the body. The metal frame would be requiring some minor modification for the installation of some details, so I held off on the painting and final assembly until that work was done. Once the DCC was installed I removed the truck sideframes and added new piping between the two brake cylinders using .0125″ wire…
